4Ubeauty
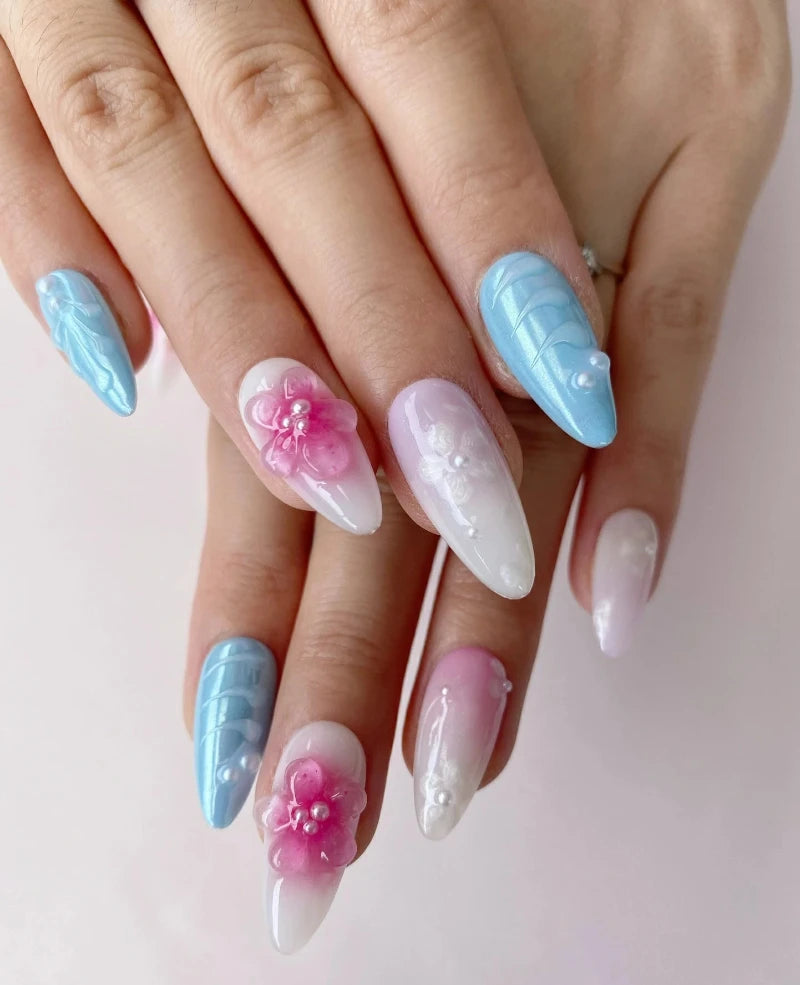
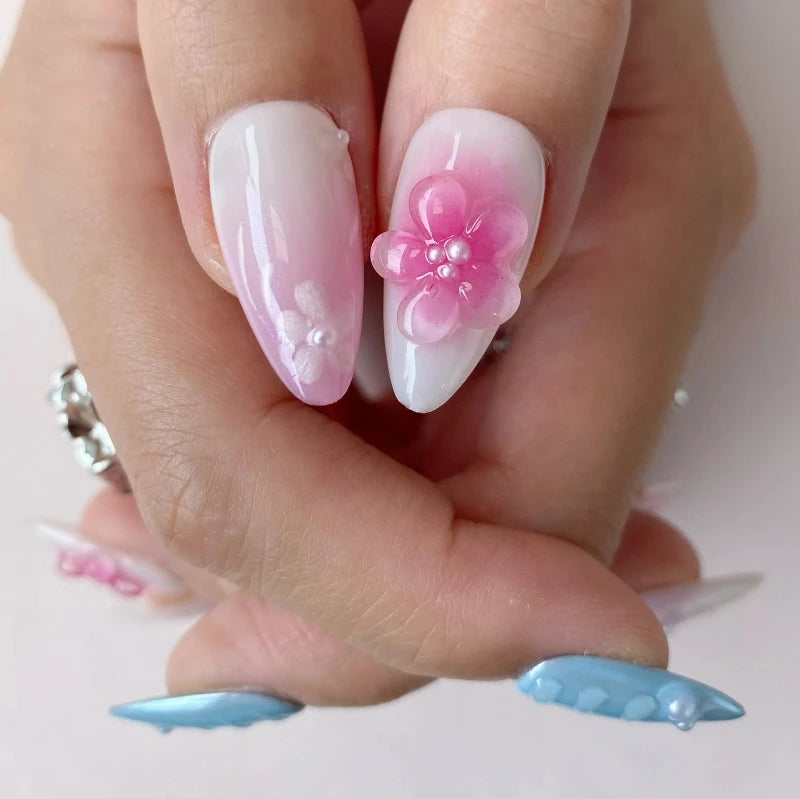
Full of spring
Full of spring
Couldn't load pickup availability
Premium Acrylic Reusable Manicures
Distinguished from the mass-produced, machine-made press-on nails commonly found on the market, all 4Ubeauty™ products are meticulously handcrafted by our expert team. We use only the finest materials, ensuring superior craftsmanship and more vibrant, lasting colors.
Achieve salon-quality results in seconds, without the time commitment, damage, or high cost associated with traditional manicures. Each nail is designed to last up to 30 days and can be reapplied up to 6 times for shorter wears, giving you the flexibility to effortlessly switch between stylish looks as desired—all at a fraction of the cost of a salon visit.
 APPLY IN SECONDS
 REUSABLE
 SALON QUALITY
CONTAIN
CONTAIN
- Press-on nails storage box
- 10pcs handmade nail tips
- 24pcs jelly glue stickers
- Nail file
- Cuticle pushier
- Manicure Stick
HOW TO APPLY & ROMVE
HOW TO APPLY & ROMVE
How to Apply?
1. Prepare Your Natural Nails:
Start by ensuring that your natural nails are clean, dry, and free from any nail polish or oils. Gently push back your cuticles using a cuticle pusher.
2. Select the Right Size:
Our press-on nail sets come with various sizes to fit different nail shapes and lengths. Take the time to match each press-on nail to the corresponding size of your natural nails. It's better to choose a slightly smaller size if you're unsure, as you can file and shape the press-on nails later for a perfect fit.
3. Position and Press:
Align the press-on nail with the cuticle area of your natural nail, ensuring that it fits well without overlapping the skin. Start by pressing the nail down at the center of your natural nail, then gradually press down the sides, working from the cuticle to the tip. Apply gentle pressure for a few seconds to allow the adhesive to bond securely.
4. Shape and File:
Once all the press-on nails are applied, you can use a nail file to shape and refine the length and edges of the nails. File in one direction, moving from the outer edge toward the center, to avoid damage to the nails. This step helps to achieve a natural and seamless look.
5. Care and Maintenance:
To maintain your press-on nails, avoid excessive exposure to water and harsh chemicals. It's recommended to wear gloves when doing household chores or activities that may expose the nails to potential damage.

How to Remove
When you're ready to remove the press-on nails, soak your nails in warm, soapy water for a few minutes. This helps to soften the adhesive, making it easier to gently lift the press-on nails from the sides using a manicure stick or cuticle pusher. Avoid forcefully pulling or peeling off the nails, as this can cause damage to your natural nails.
By following these steps, you can properly wear press-on nails and enjoy a beautiful, salon-quality manicure at home. Remember to always read and follow the specific instructions provided with the press-on nail set you are using for the best results.

Share


HOW TO CHOOSE HANDMADE PRESS-ON NAILS

HOW TO APPLY & ROMVE
How to Apply?
1. Prepare Your Natural Nails:
Start by ensuring that your natural nails are clean, dry, and free from any nail polish or oils. Gently push back your cuticles using a cuticle pusher.
2. Select the Right Size:
Our press-on nail sets come with various sizes to fit different nail shapes and lengths. Take the time to match each press-on nail to the corresponding size of your natural nails. It's better to choose a slightly smaller size if you're unsure, as you can file and shape the press-on nails later for a perfect fit.
3. Position and Press:
Align the press-on nail with the cuticle area of your natural nail, ensuring that it fits well without overlapping the skin. Start by pressing the nail down at the center of your natural nail, then gradually press down the sides, working from the cuticle to the tip. Apply gentle pressure for a few seconds to allow the adhesive to bond securely.
4. Shape and File:
Once all the press-on nails are applied, you can use a nail file to shape and refine the length and edges of the nails. File in one direction, moving from the outer edge toward the center, to avoid damage to the nails. This step helps to achieve a natural and seamless look.
5. Care and Maintenance:
To maintain your press-on nails, avoid excessive exposure to water and harsh chemicals. It's recommended to wear gloves when doing household chores or activities that may expose the nails to potential damage.

How to Remove
When you're ready to remove the press-on nails, soak your nails in warm, soapy water for a few minutes. This helps to soften the adhesive, making it easier to gently lift the press-on nails from the sides using a manicure stick or cuticle pusher. Avoid forcefully pulling or peeling off the nails, as this can cause damage to your natural nails.
By following these steps, you can properly wear press-on nails and enjoy a beautiful, salon-quality manicure at home. Remember to always read and follow the specific instructions provided with the press-on nail set you are using for the best results.


